How to Install a Free SSL Certificate on a VPS

A website without HTTPS today is practically flagged as suspicious. Browsers show “not secure” warnings, search engines treat this as a negative ranking signal, and a large share of visitors simply close the tab before the page even finishes loading. The good news is that a valid SSL certificate costs nothing and, in practice, can be set up in a few minutes, even without prior server experience.
This guide is for anyone who has, or is considering, a VPS and wants to understand how to install a free SSL certificate in practice. We go beyond the most common route. There is more than one way to do this, and the right choice depends on how comfortable you are with the command line, how much time you have for ongoing maintenance, and how many domains or subdomains you need to cover. By the end, you will understand the three most widely used options today and know which one fits your situation.
What an SSL certificate is and why it matters on a VPS
An SSL certificate, technically TLS today, though the older term SSL remains in everyday use, is a digital file that confirms two things to a visitor's browser. First, that the domain genuinely belongs to whoever claims to own it. Second, that all communication between the visitor and the server is encrypted, meaning nobody in between can read passwords, card details, or any other information exchanged.
Without this certificate, the site loads over plain HTTP only. Modern browsers flag this explicitly, usually with the words “not secure” next to the address. For online stores, login forms, or any page that collects data, this is a fast route to visitors leaving before they even engage.
A few terms come up whenever certificates are discussed, and it is worth clarifying them briefly:
- Domain: the site's address, such as example.com. A certificate is issued for a specific domain.
- Subdomain: an additional address within the main domain, such as api.example.com or blog.example.com. Each subdomain may need its own coverage.
- Wildcard certificate: a single certificate that covers the main domain and all of its subdomains at once, useful when there are many addresses to protect.
- Domain Validation (DV): the most common verification level for free certificates. It confirms that you control the domain, without checking company documents. For the vast majority of sites, this is more than sufficient.
On a VPS, unlike shared hosting with a ready made panel, you have full control over the server, and that includes the responsibility of configuring the certificate yourself. It is precisely this control that lets you choose between the three routes covered below.
How free issuance works: the role of the ACME protocol
Every free method available today relies on the same protocol behind the scenes, called ACME. The logic is simple to follow even without deep technical knowledge. A program installed on your server, known as an ACME client, contacts a certificate authority and proves that you genuinely control the domain in question. That proof usually happens in one of two ways: the server responds to a small check on port 80, known as an HTTP challenge, or a specific record is added to the domain's DNS, known as a DNS challenge, used mainly for wildcard certificates.
Once domain ownership is confirmed, the certificate authority issues the certificate automatically, with no email exchanges, no document submissions, and no waiting days for approval. The whole process, from request to installation, typically takes under a minute the first time round.
The best known certificate authority in this model is Let's Encrypt, run by a non profit organisation and responsible for billions of certificates issued since 2016. It is not the only option though, and later on we will look at ZeroSSL as an alternative within the same protocol.
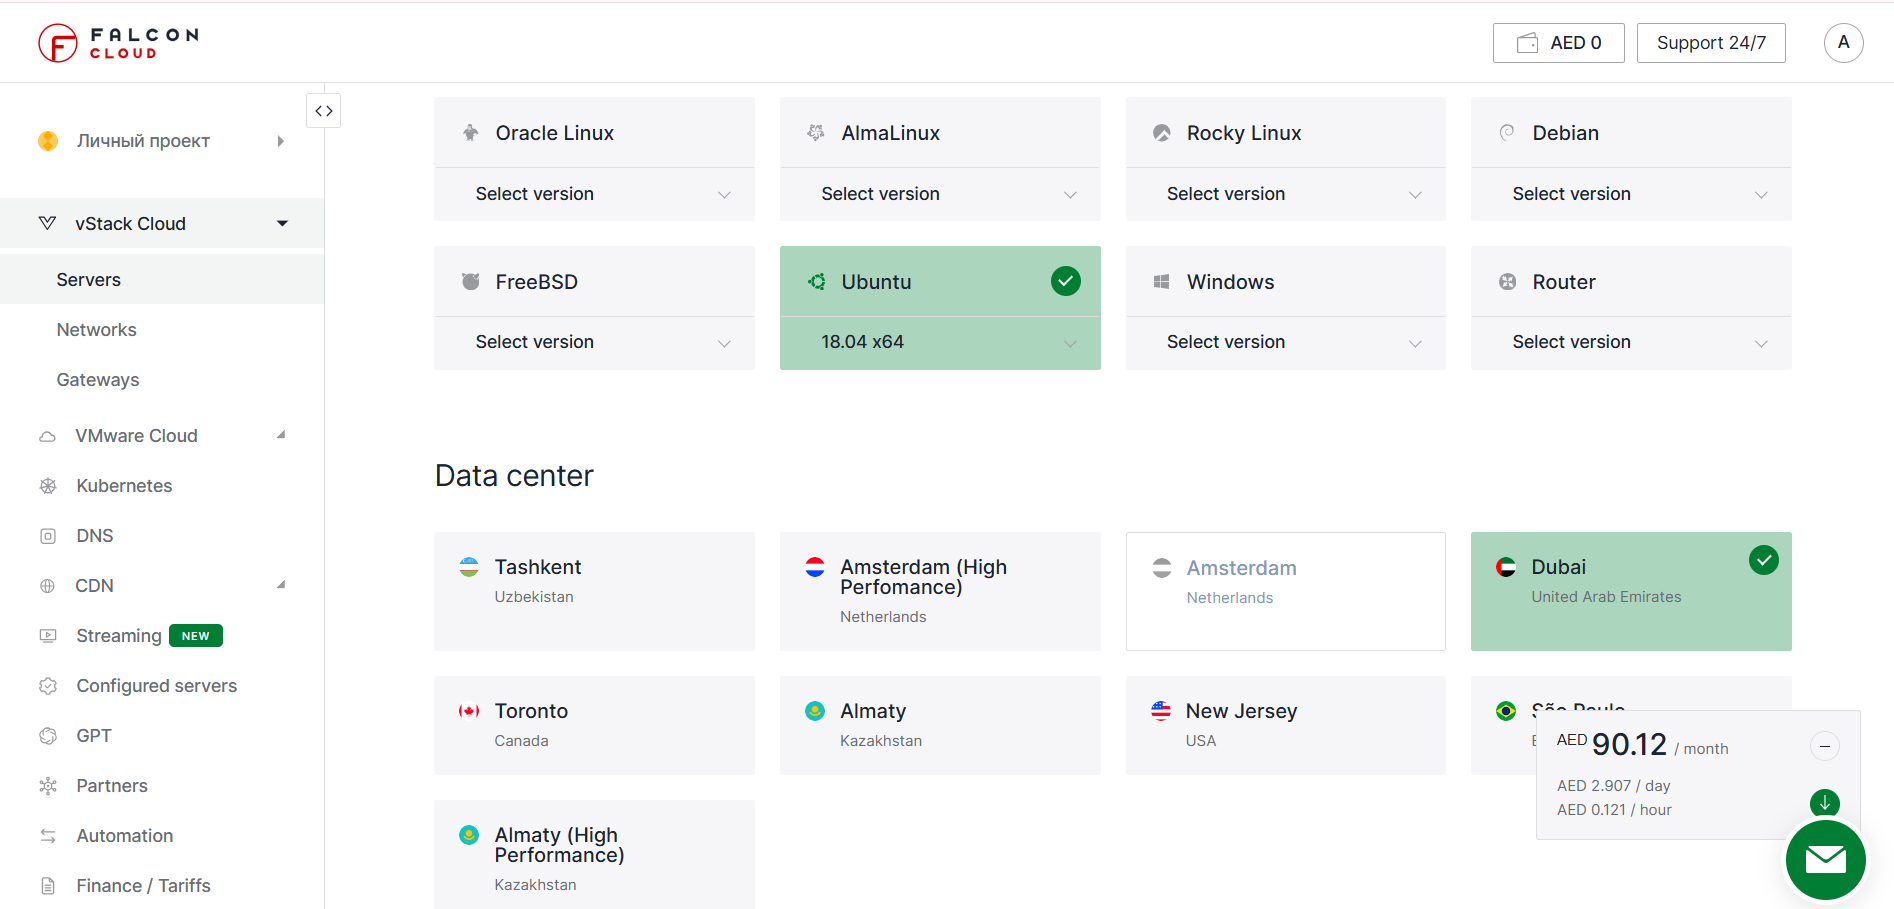
For any of these methods to work, you need a publicly reachable server, with ports 80 and 443 open, and the domain already pointing to that server's IP address. Without this basic prerequisite, no certificate authority can confirm that the domain genuinely belongs to whoever is requesting the certificate, and issuance fails before it even starts. For anyone still deciding where to host their project, it is possible to spin up a VPS on Falconcloud in a few minutes and have the environment ready for the steps that follow.
It is worth stressing a point that often causes confusion: issuing the certificate is only half the job. Once installed, it also makes sense to force the redirect from HTTP to HTTPS and, where possible, enable the HSTS header, which tells the browser never to attempt an unencrypted connection to the site again. Tools such as the SSL Labs test help confirm that the final configuration is correct, not just the certificate itself.
Let's Encrypt and Certbot: the most common route
Certbot is the ACME client maintained by the Electronic Frontier Foundation and, by a wide margin, the most widely used tool for obtaining Let's Encrypt certificates on Linux servers. It automates nearly everything: requesting the certificate, proving domain ownership, installing the file, and adjusting the web server configuration.
Basic step by step with Nginx
After connecting to the VPS via SSH and confirming the domain already points to the server's IP, the process comes down to this:
sudo apt update && sudo apt upgrade -y

sudo apt install -y nginx

sudo apt install -y certbot python3-certbot-nginx
With Nginx and Certbot installed, run the issuance command with your domain:
sudo certbot --nginx -d yourdomain.com -d www.yourdomain.comCertbot asks for an email address for renewal notices, asks you to accept the terms of service, and, at the end, offers to force the automatic redirect from HTTP to HTTPS. It is worth accepting that option. Within seconds, the certificate is installed and the site loads with the padlock in the browser.
The detail that often gets forgotten is renewal. A Let's Encrypt certificate is valid for only 90 days, but Certbot already schedules automatic renewal on its own through a system timer. To confirm everything is in order, the test command is:
sudo certbot renew --dry-runIf the test finishes without errors, automatic renewal is guaranteed and needs no manual attention for months to come.
Caddy: automatic HTTPS without Certbot or cron
If Certbot already solves the problem, why does another route exist? Because Certbot still requires you to install a separate tool, configure its integration with the web server, and trust a renewal schedule to keep working over time. Caddy takes a different approach: automatic HTTPS built directly into the web server itself, with no extra moving parts.
In practice, this means Caddy talks to Let's Encrypt on its own, or to ZeroSSL when needed as a fallback, obtains the certificate, installs it, and renews it without human intervention and without a separate cron job. A complete configuration for serving a static site with automatic HTTPS fits in a few lines:
yourdomain.com {

root * /var/www/yourdomain

file_server

}
That alone is enough for Caddy to detect the domain, issue the certificate, and serve the content over HTTPS. For a reverse proxy pointing to an application running on an internal port, the configuration is just as lean:
yourdomain.com {

reverse_proxy localhost:3000

}
Installing Caddy is also straightforward, available through an official repository for Ubuntu and Debian, and once installed it runs as a system service. The main practical advantage is reducing the surface for error: there is no cron job to forget and no renewal hook to configure. This makes Caddy a frequent choice for new projects, small teams without a dedicated infrastructure routine, or any situation where the time available for maintenance is limited.
The trade off is that Caddy has a smaller ecosystem than Nginx, with fewer ready made examples for very specific or heavily customised scenarios. For simple to moderate setups, this is rarely a real problem.
ZeroSSL: when it is worth switching certificate authorities
A ZeroSSL is another certificate authority that follows the same ACME protocol, which means the same clients used with Let's Encrypt, including Certbot itself, also work with it, simply by pointing the client to ZeroSSL's server instead of the default one.
There are three practical reasons to consider ZeroSSL:
First, usage limits. Let's Encrypt applies issuance limits per domain within a given time window, and projects that issue certificates very frequently, for example in automated testing environments, can hit that ceiling. ZeroSSL works as an alternative in those cases.
Second, free wildcard certificates. ZeroSSL offers certificates that cover a domain and all of its subdomains at once, still on the free tier, which is useful for anyone managing several subdomains, such as api, blog, and dashboard, under the same main domain.
Third, a web interface. Unlike the largely command line driven flow of Let's Encrypt, ZeroSSL offers a dashboard where certificates can be generated and downloaded manually, with no need to install any ACME client, something that may appeal to anyone who would rather avoid the terminal altogether.
Quick comparison: which tool to choose
The table below summarises the practical differences between the three routes covered above.
| Solution | Setup | Automatic renewal | Free wildcard | Best for |
|---|---|---|---|---|
| Let's Encrypt + Certbot | Manual, via command line | Yes, via a system timer | Yes, with a manual DNS challenge | Anyone already using Nginx or Apache who wants the most documented route |
| Caddy | Automatic, a few lines of config | Yes, native, no cron | Yes, with extra configuration | New projects and small teams without a dedicated infrastructure routine |
| ZeroSSL | Web dashboard or command line | Depends on the ACME client used | Yes, included in the free plan | Anyone with several subdomains or who prefers a graphical interface |
Benefits, limits, and risks of free SSL
Before choosing a route, it helps to understand what free SSL delivers well and where its real limits sit.
Among the benefits, the main one is obvious: zero cost, even for anyone managing several domains. Automation also removes nearly all recurring manual work, and the browser's level of trust is identical to that of a paid domain validated certificate. There is no technical difference in encryption strength between a free certificate and a paid one of the same type.
Among the limits, the main one is the short validity period. The 90 days require that automatic renewal is properly configured and actually working, because relying on remembering manually is a recipe for an expired certificate sooner or later. Another point is the validation level itself: free certificates are always DV, meaning they only prove domain ownership. Businesses that need to display a verified organisation name in the address bar, something called extended validation, need a specific paid certificate for that, which is rare outside banks and financial institutions.
The biggest practical risk is not the certificate itself, but the operations around it: closing port 80 after issuance, moving to a new server without migrating the renewal setup, or simply never testing whether automatic renewal is genuinely active.
A common example illustrates this risk well. A project moves to a new server, the team reconfigures everything manually, and forgets to recreate the renewal schedule. Three months later, the certificate expires with no noticeable warning in day to day use, until a customer reports that their browser blocked access to the site. This kind of incident is avoidable with a simple test right after any infrastructure change, which is exactly why the renewal verification step should never be skipped.
Practical scenarios: which approach fits each case
To make the choice more concrete, here are four common situations and which route tends to make the most sense in each.
- Personal site, portfolio, or a simple landing page. When the goal is just to get the site live with HTTPS working without complication, Caddy tends to be the fastest option, since it handles everything with minimal configuration and no loose ends to maintain.
- Startup or early stage project without a dedicated infrastructure team. Here the main argument is time. Caddy fits well again, but Certbot with Nginx is also a solid choice if the team already has experience with that web server.
- Agency or freelancer managing several clients with multiple subdomains. As the number of subdomains grows, a wildcard certificate saves configuration time. ZeroSSL is a direct alternative here, including its free wildcard option.
- Online store or application with meaningful traffic and an established infrastructure history. For anyone who has run Nginx for years and has mature deployment processes, Certbot paired with Nginx remains the most battle tested combination on the market, with the largest volume of examples and fixes for specific problems.
In any of these scenarios, the starting point is the same: a VPS with ports 80 and 443 open and the domain already pointing to the server. Setting up a VPS on Falconcloud with hourly billing is a practical way to test any of the three methods without a long term commitment, then scale resources as the project grows.
Most common mistakes when setting up free SSL and how to avoid them
- Domain pointing to the wrong place. This is the most frequent cause of issuance failure. Before running any command, confirm that the domain's DNS record points to the VPS's correct IP address. Without this, no certificate authority can validate domain ownership.
- Ports 80 and 443 closed in the firewall. Port 80 is used for the initial validation, and 443 for the actual HTTPS traffic. If the VPS firewall blocks either one, issuance or renewal fails silently.
- Closing port 80 after enabling HTTPS. A common mistake is blocking port 80 after issuance, assuming it is no longer needed. If the HTTP challenge is the validation method in use, automatic renewal depends on that same port staying reachable.
- Never testing automatic renewal. Setting it up and never checking that it works is like installing an alarm and never testing the battery. Certbot's test command, or Caddy's own quiet background process, should be checked at least once shortly after the initial setup.
- Forgetting the redirect from HTTP to HTTPS. Without this redirect, the site remains reachable without encryption over port 80, which cancels out much of the benefit of having the certificate installed in the first place.
Conclusion: where to start now
There is no single correct way to get a free SSL certificate on a VPS, and that is an advantage rather than a complication. Certbot with Let's Encrypt remains the most tested and well documented option. Caddy solves the same problem with far fewer moving parts to maintain, ideal for anyone who wants simplicity. ZeroSSL comes in as an alternative once free wildcard coverage or issuance limits enter the conversation.
In practice, the first step is always the same regardless of the method chosen: a server with the domain pointing correctly and the right ports open. Setting up a VPS on Falconcloud and testing any of the three routes in this guide is a good place to start, since hourly billing lets you experiment without commitment before deciding what makes the most sense for your project.